
The Advanced Cave Culling Algorithm™, or, making Minecraft faster
31 August 2014
The Advanced Cave Culling Algorithm™ is an algorithm that I happened to come up with during the development of MCPE 0.9, after we tried to enable cave generation in the worlds and being hit by how slower the game just became - it would hardly reach 40 fps on this year’s devices!
Fortunately, turns out this culling approach works pretty great with good culling ratios going from 50% to 99% (yes, 99%!) of the geometry, so it allowed us to generate caves on all phones instead than on the most powerful ones only.
On top of that, it gave a nice speed boost to Minecraft PC after it was backported :)
I think it might be an interesting read, and perhaps it could be useful to the countless voxels games being developed, so here’s how it works!
Yeah, caves are kind of slow
Minecraft’s caves are really fun to explore and get lost in thanks to their generated sponge-like structure and huge walkable area, and they have always been a part of Minecraft we wanted to bring over to MCPE.
However, while they are pretty cool for the gameplay, they are the ultimate overdraw nightmare:
- rendering the caves by tessellating their surfaces requires a massive amount of triangles
- they are really chaotic and twisted
- visible from potentially everywhere
- they form a lot of overlapping surfaces (ie. polygons one in front of another)
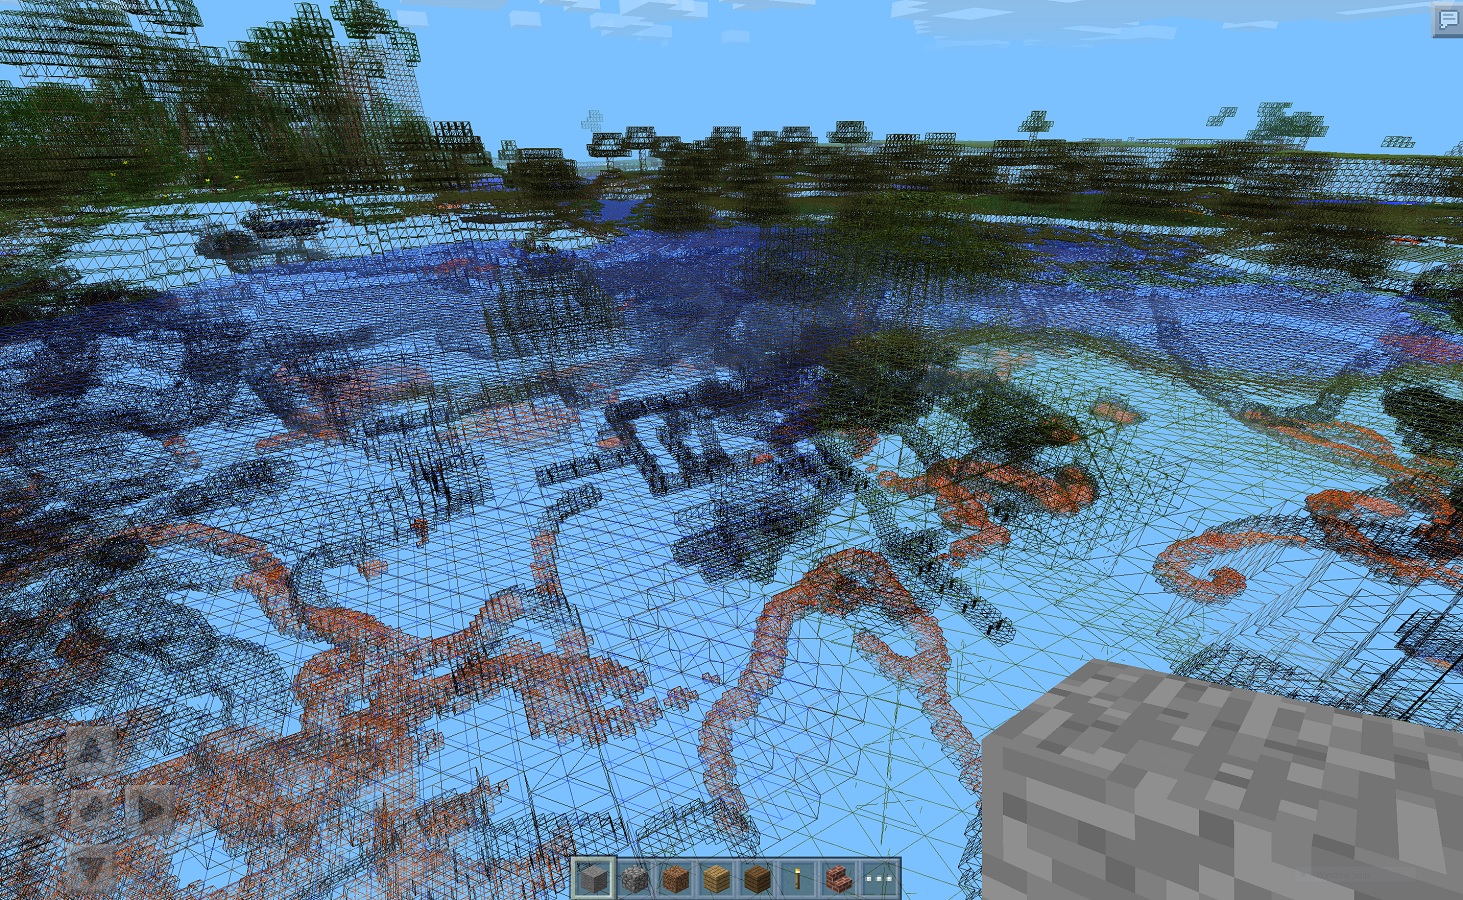
the overdraw here is insane!
While all of this mess of overlapping polygons wastes a lot of rendering time on desktop PCs too, the issue is even worse on tile-deferred rendering architectures such as those in mobile phones due to how they process the fragments.
Tile-deferred GPUs like the PowerVR family found in Apple’s devices can perform a very efficient Hidden Surface Removal, but at the cost of keeping track of a sorted list of screen pixels. This works very well in simple scenes, but the scene complexity becomes proportional to the amount of fragments per pixel; in a typical cave scene in Minecraft is far too huge (peaks of hundreds of triangles rendered to the same pixel), and has an obvious impact over performance. In benchmarks with caves on, even the latest iPad Mini Retina couldn’t manage to render above 40 fps, while other slightly older devices such as the iPad Mini/iPad 2 struggled keeping a playable framerate.
To make caves doable at all, then, we definitely needed a way to hide them when they are not needed, thus reducing the most evil ovedraw… but it had to be a new approach, as we already explored a couple that didn’t really cut it:
Things people tried before
Minecraft PC’s Advanced OpenGL
Notch originally tackled the problem of overdraw on PC by making use of the then-advanced OpenGL function called Hardware Occlusion Queries: it would draw a cubic “hull” of each 16x16x16 cube of blocks, then query the result to check if any pixels of the hull were visible.
If so, all of the chunk was deemed visible, and rendered.
This works for some GPUs (desktop Nvidia variants, primarily) but unfortunately it isn’t half as good as it sounds like: apart from the fact that rendering a lot more cubes is even slower, GPUs are inherently asynchronous.
That is, your GPU, at any time, lags from 1 to 3 frames behind what the CPU is doing right now.
So, without a lot of careful fiddling, rendering those hulls and reading back the result in the same frame can stall the GPU forcing it to stop and wait for the CPU.
Without the driver optimizations that Nvidia probably does, this is actually very slow.
And anyway HOQs are only available on OpenGL ES 3.0 devices, which are already the fastest around.
Checking which chunk faces are all opaque
Some people (and me) thought of an algorithm that could run on the CPU simply checking which sides of the 16x16x16 chunks were completely filled up by opaque blocks, thus forming a wall we could check against.
If a chunk was completely covered by those faces it would be safe to hide it.
However this too was a disappointment, though. It turns out that the caves are so spread all over the place that these walls of opaque blocks are quite rare, and the chance of one chunk having 6 opaque sides is very low: only about 1 in 100 chunks could actually be culled with this method.
Thinking quadrimensionally
Turns out that the previous algorithm wasn’t so bad even if it was unworkable - in fact, it’s the base of what we ended up implementing in MCPE 0.9 and Minecraft PC.
It just needed a small breakthrough to be workable!
The idea is actually very simple: what if instead of checking the walls separating the chunks, we check how those chunks connect together through the walls?
After all, we know from which direction we are looking from, and that’s an information we can put to use, by asking a more specific question to our graph:
Coming from my direction and entering the chunk through face A, is it possible to exit the chunk through face B?
Answering this question is actually quite fast, and requires storing just 15 bits in each chunk, one for each possible pair of faces - however those 15 bits have to be updated every time an opaque block changes in the chunk.
This is actually a somewhat expensive operation (~0.1-0.2 ms on most devices I tried) that would have made the stutter worse if done on the main thread. In fact, both MCPE and PC (props to @Dinnerbone) now do this in the background!
Rebuilding the graph
It’s rather straightforward to build the connectivity graph for a chunk when an opaque block changes, it follows a simple algorithm:
- for each block that’s not opaque,
- start a 3D flood fill, with an empty set of faces
- every time the flood fill tries to exit the boundaries of the chunk through a face, add the face to the set
- when the flood fill is done, connect together all the faces that were added to the set.
Try to place/remove opaque blocks in this javascript thing here to see how it would work in practice in a 2D chunk:
each color represents a different flood fill, dark tiles don’t lead anywhere;
the green lines tell which face can see which other.
After the chunks are all connected together through their visible faces, it’s time to start thinking of how to use this to decide what we’re going to show on screen, and this is where things start to be more interesting!
I’ll try to explain how the visibility graph is used in Part 2, for all of those not already too bored :)
